
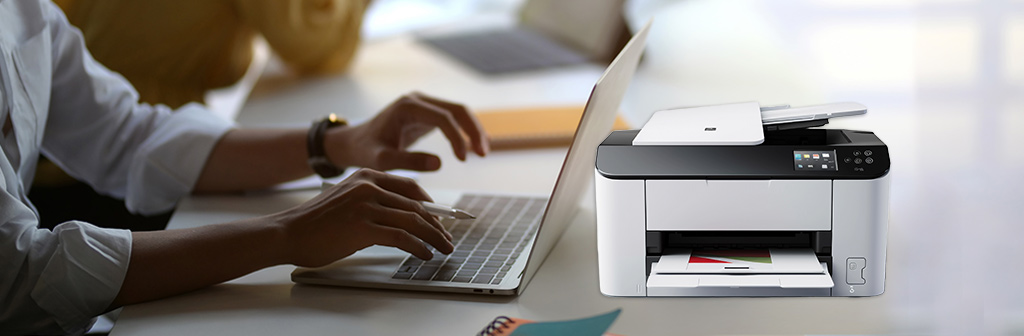
Adding a Brother printer to your computer is a simple process, but knowing where to start is crucial. Whether you're a beginner or a seasoned tech enthusiast, this blog will walk you through each step to ensure your printer is connected and ready to go. Sometimes all you need is a starting point, and once you get the hang of it, you'll be setting up your printer quickly and enjoying seamless printing.
Quick View
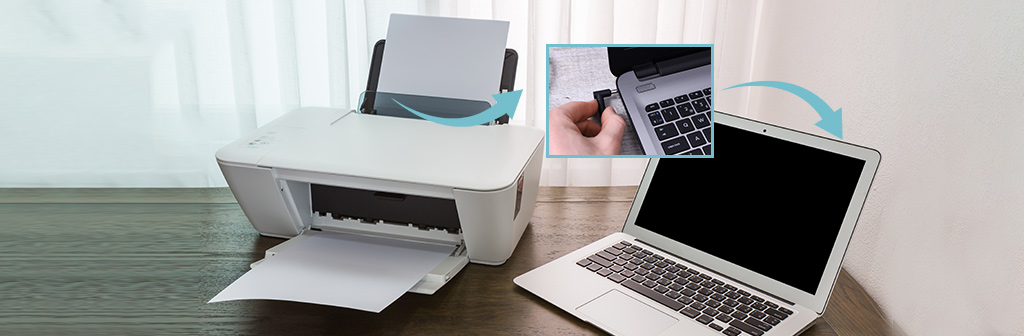
Whether you have a Windows or Mac computer, you can add a Brother printer by connecting a USB cable. You can also download Brother printer drivers to add your device. They are simple and quick, and are perfect for non-professionals.
How to Add a Brother Printer to Computer?
Generally speaking, there are two ways to add a Brother printer. Depending on your hardware and preference, you can either use a USB cable for a direct connection, or download the appropriate drivers for a wireless setup.
Connect the Printer Using a USB Cable
Using a USB cable is one of the easiest and quickest ways to connect a Brother printer to a computer. This is ideal for users who prefer a direct connection or do not have access to a wireless network. Common examples include the Brother HL-L2390DW, Brother HL-L3280CDW, Brother HL-L3290CDW, Brother MFC-L3770CDW, and Brother MFC-L8395CDW.
1. For Windows:
- Open your printer and connect the power cord.
- Connect the USB cable between the printer and your Windows computer. Your device will automatically detect the printer and prompt the driver installation process.
- If it is not detected automatically, we can install the Brother printer driver manually. Visit Brother Support, search for your printer model (for example, DCP-L5600DN). Then, download the driver that matches your Windows version, double-click the downloaded file and follow the on-screen instructions to install the driver.
- Open “Settings,” click “Devices,” click “Printers & Scanners,” and check if your Brother printer is connected. If not, click “Add a Printer or Scanner.” Select your Brother printer from the list and follow the prompts to complete the setup.
- Finally, use the printer to print a test page to confirm that everything is working properly.
2. For macOS Users
- First, make sure the printer is turned on and ready. Then connect the printer using a USB cable.
- After that, your macOS will usually detect and install the driver automatically. If not, visit the Brother support website, enter your printer model and download the driver for macOS.
- Then, open “System Preferences” and select “Printers & Scanners.” Click the “+” button to add the new Brother printer. Select your printer from the list and click “Add” to complete the setup.
- Finally, print a test document from your Mac to make sure the printer is connected and working properly.
You can download the test page from the blog Printer Test Page PDF – ISO/IEC 19752 19798 and 24711.
Download the Printer Driver to Connect the Printer
In addition, if you plan to connect your Brother printer wirelessly or use other methods to connect to your computer, printer drivers can help you. Here are step-by-step instructions for downloading and installing drivers on Windows and macOS. Common examples are DCP-L2640DW, HL-EX470W, HL-L5210DW, MFC-EX670W, MFC-L2820DW, MFC-L5715DW.
1. For Windows Users
- Open your web browser and go to support.brother.com. Search for your printer model (for example MFC-J491DW) and press “Enter.”
- Select your operating system from the drop-down menu, select the latest version of the driver and click “Download.”
- Double-click the downloaded file to begin the installation process. Follow the on-screen instructions, which may include selecting a connection type (e.g. USB, Ethernet, Wireless). Select “USB” or “Wireless” and follow the instructions to connect your printer.
- Go to “Settings,” “Devices,” then “Printers & Scanners.” Click “Add a Printer or Scanner” and wait for your printer to appear. Select the printer and follow any additional prompts.
- Finally, print a test document to verify that the printer is set up correctly.
2. For macOS Users
- Open Safari or your preferred browser and navigate to support.brother.com. Enter your printer model number and click Search.
- Select your version of macOS from the drop-down menu (e.g. Ventura, Monterey), click “Download” and save the file.
- Open the downloaded file to begin installing the printer driver, following the prompts, such as agreeing to the license terms and selecting an installation location.
- Then, add your Brother printer: Open “System Preferences” and go to “Printers & Scanners.” Next, click the “+” button and add your Brother printer from the list.
- Open the document and print a test to make sure everything is working properly.
Wrap It Up
Whether connecting via USB or downloading and installing the correct drivers, adding a Brother printer to your computer is a simple process with the right guidance. By following the steps outlined in this guide, you will not only save time, but also avoid common setup issues. For further support or troubleshooting, please refer to your printer's user manual or contact Brother's technical support team.


